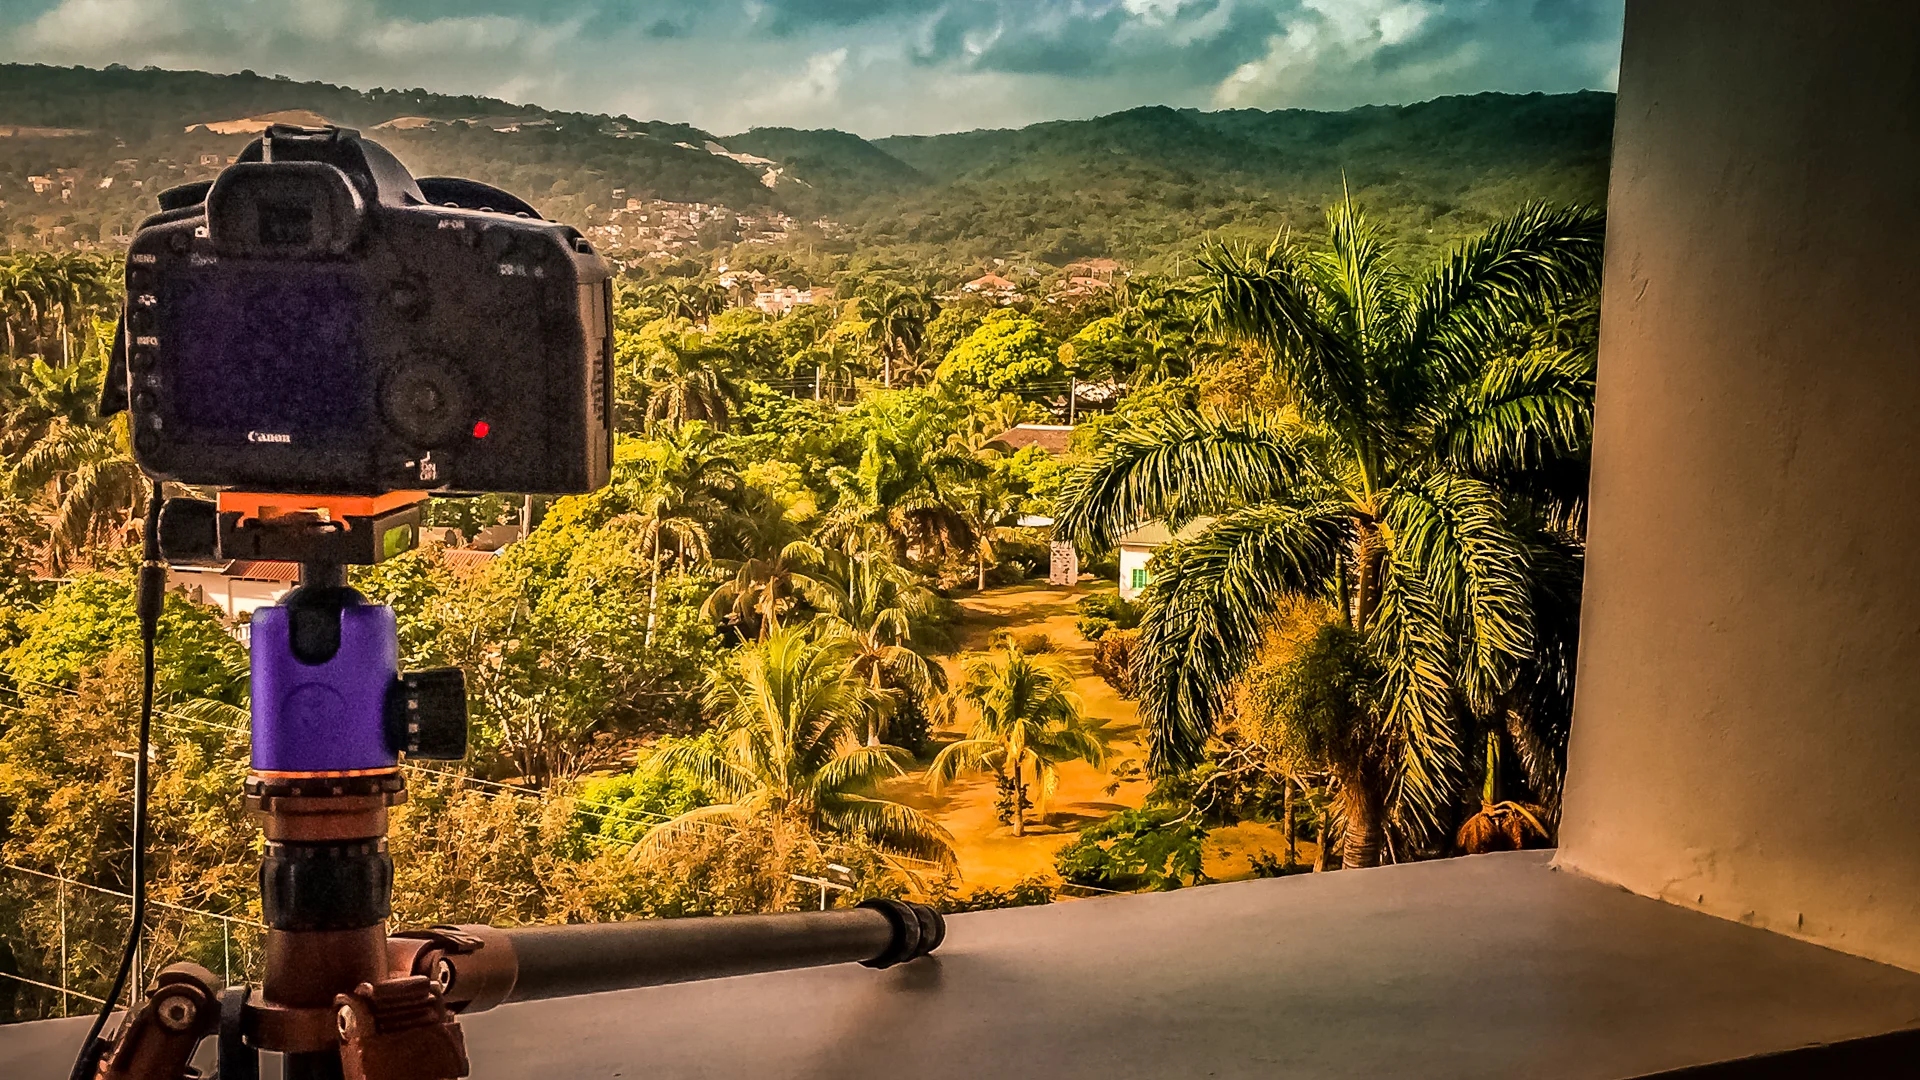
Wait what? You want me to actually make mistakes? Yes - an unusual title for some to comprehend and if you've not made them already, you probably will at some point. We all make mistakes and it's the only way to learn in my view - practical knowledge is what gives us the experience. In this post, I'll be looking at how you can make mistakes to improve your technique.
You can read all the information you desire but until you put something into practice, you'll be far from gaining any real experience. I've made countless mistakes whilst out shooting, luckily, the majority of which are during my 'practice' days. Even after nearly 6 years of shooting full-time timelapse as a career, I still spend my free days going out to practice. Why? It keeps me up to date with new techniques, allows me to explore new angles and most importantly, it allows me to make mistakes.
Making mistakes during a paid shoot is very costly, either to me or the client and for the majority of what I shoot, it cannot be repeated. Putting in that extra time will allow you to adapt your shooting to almost any situation you find yourself in. I also think it's relevant to physically make these mistakes so you can understand why you shouldn't make them. Timelapse takes time - stating the obvious I know, but if you've done each of these once during a shoot, the likelihood of you repeating it is slim! So without further ado, here's a few things to put into action - expect much disappointment...
1) Leave a few camera settings on Auto.
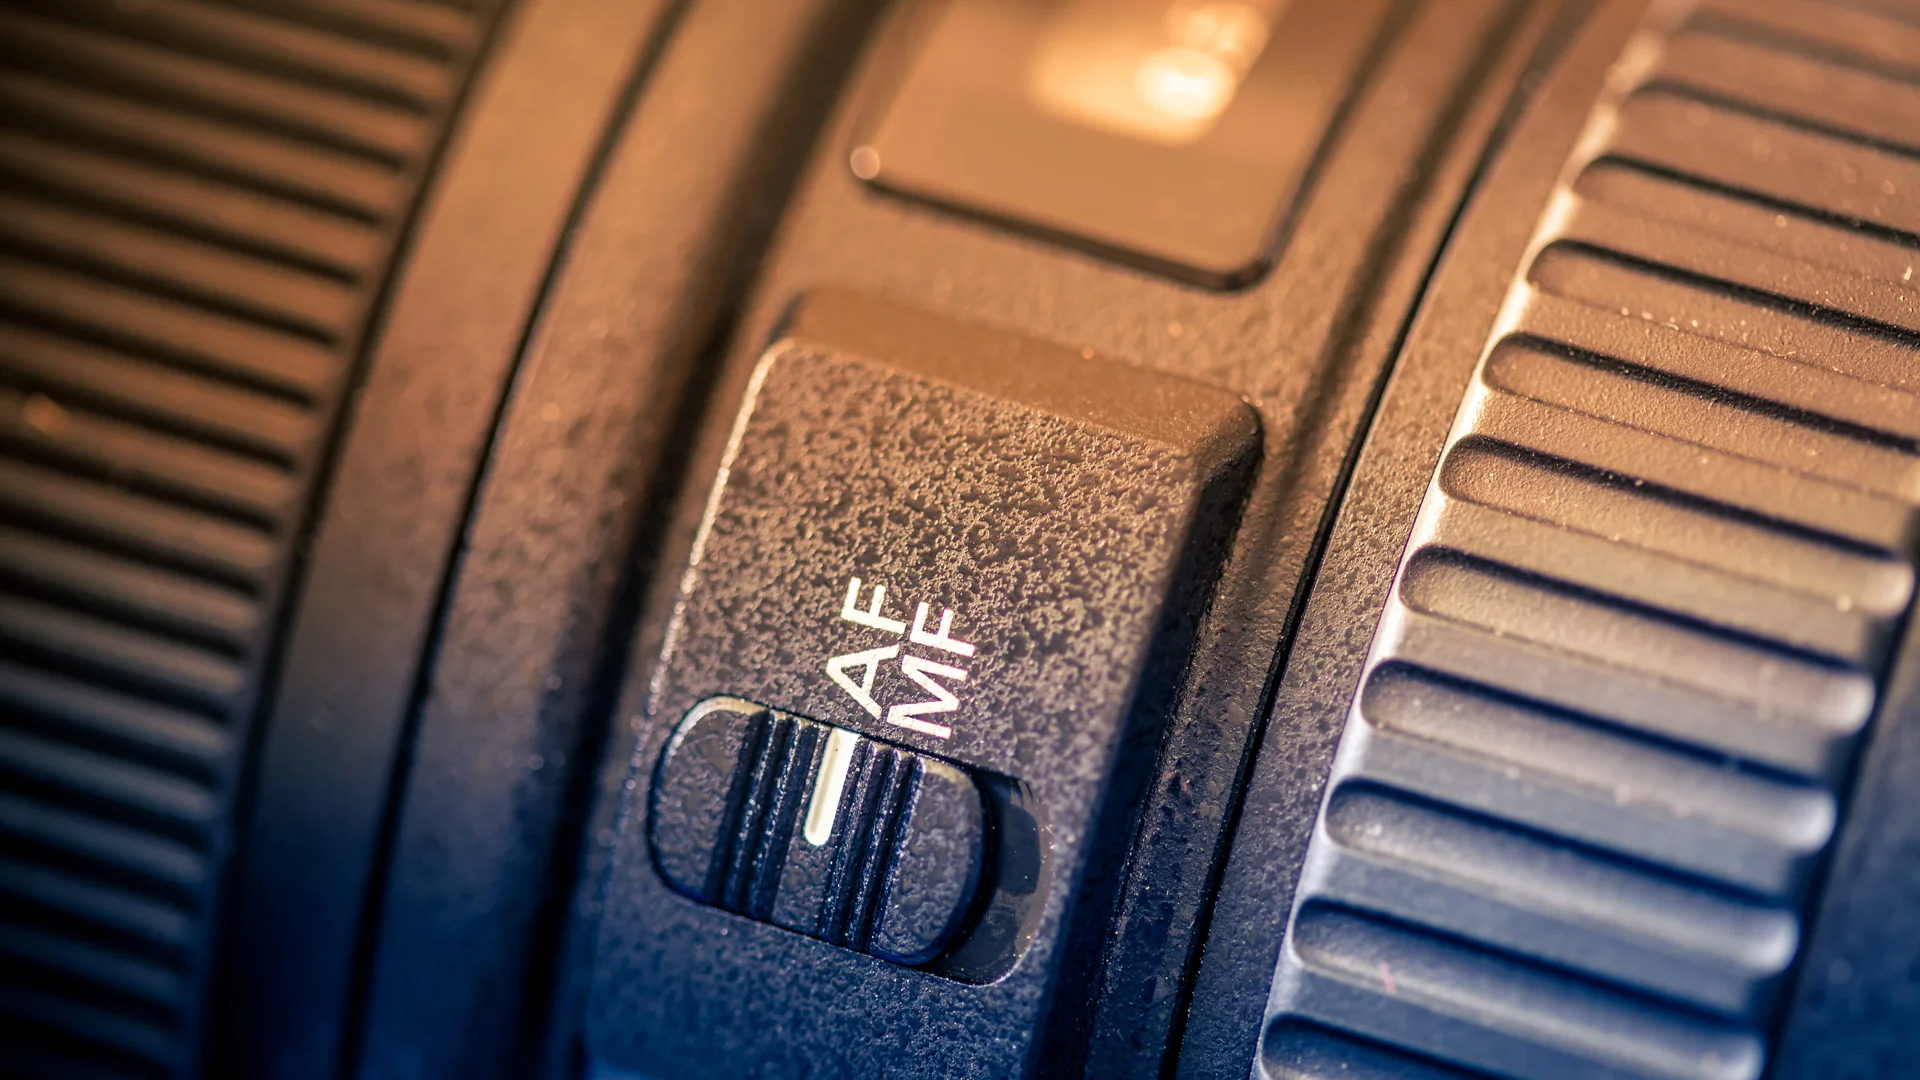
Leaving anything on auto in your camera settings is going to kill your shot, especially if it's focus as you'll not be able to fix that in post. Besides this, you're not going to want to go through potentially thousands of frames trying to fix this. Shoot fully manual on everything.
2) Leave your camera strap on
I see this time and time again on people's behind-the-scenes posts and it drives me crazy! If you're shooting a timelapse, why would you need the camera strap on? If you can't handle a camera without a strap attached between taking it out of your bag and placing it on a tripod, then you probably shouldn't be handling a camera in the first place! Remove it as it can cause your camera to vibrate more than it needs to when it's windy and it's just another thing to get caught on especially whilst shooting at night!
3) Run out of power
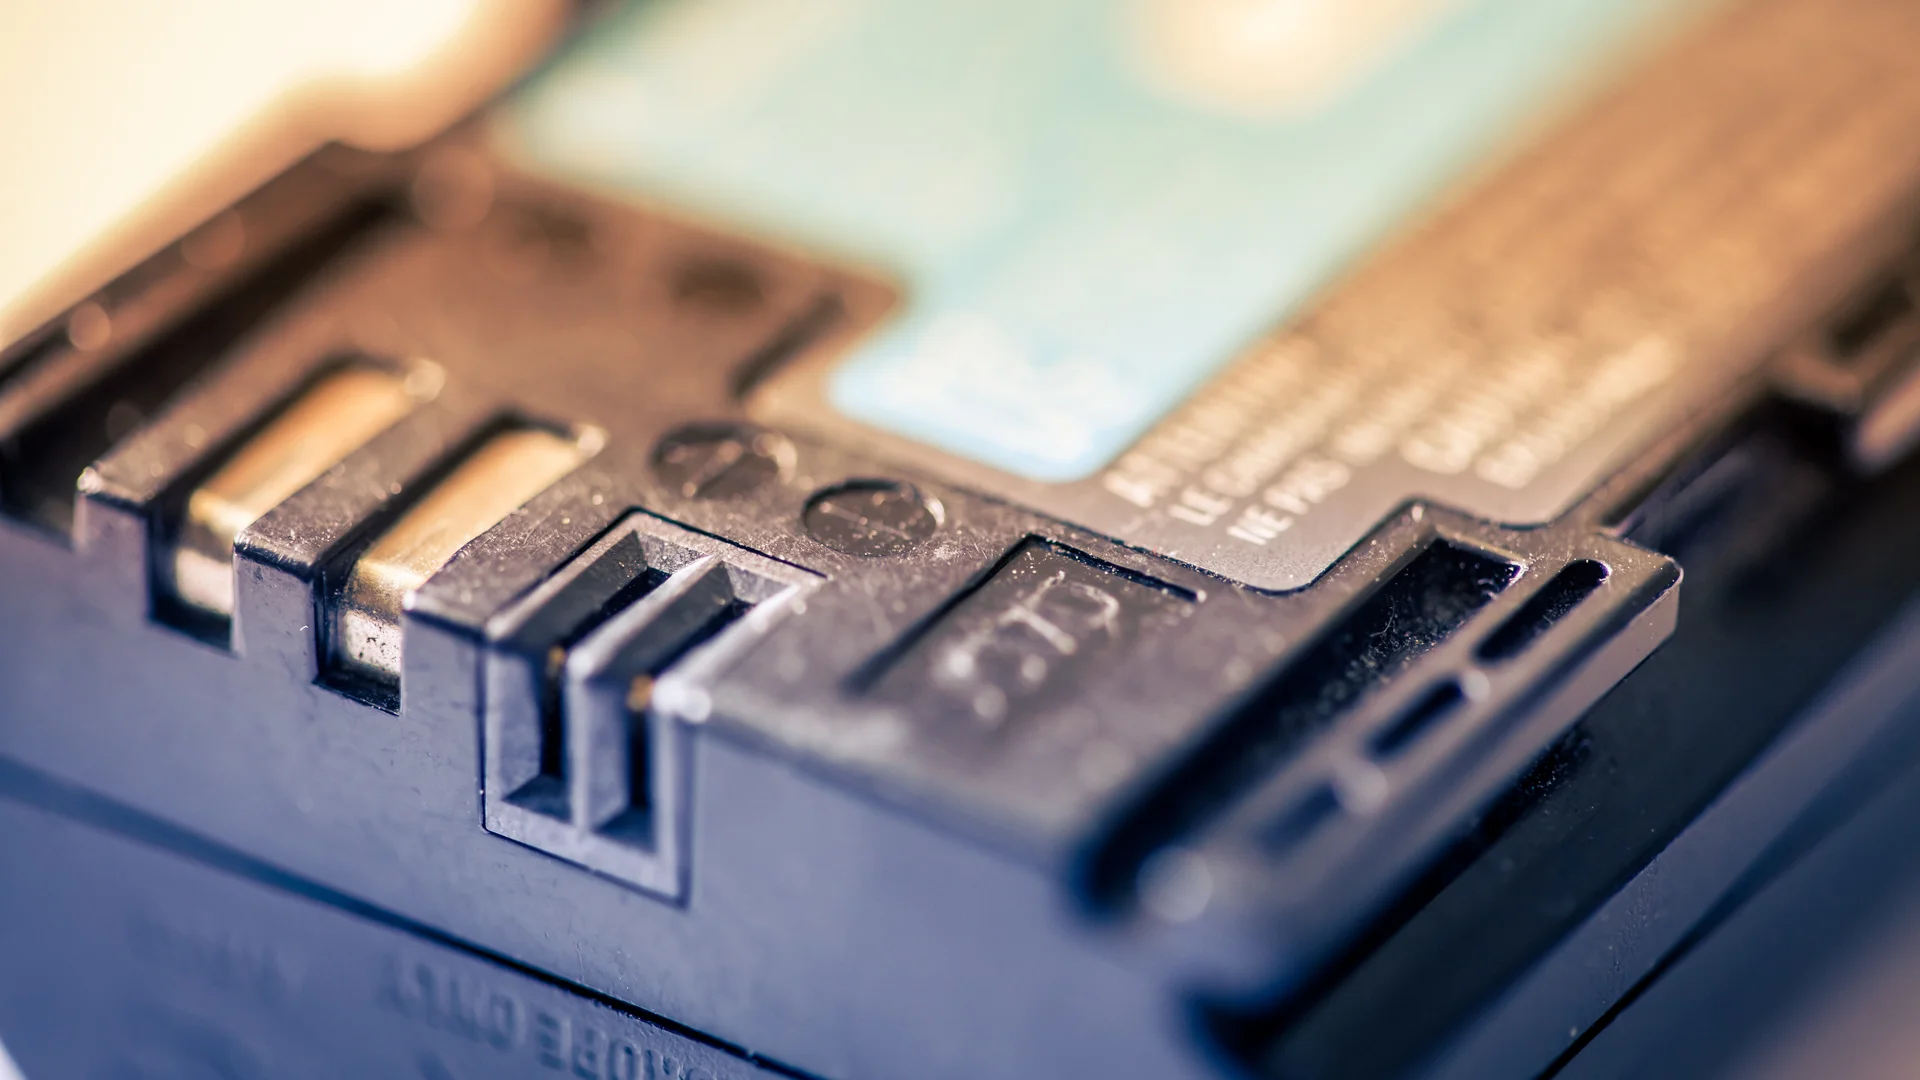
Know your batteries! How long do they last? Colder climates will alter battery charge so make sure you've calculated enough power for a single shot or buy an adaptor and run the camera from a bigger battery. The last thing you want is to lose power mid-shot and if you've got a fairly short interval, you'll notice a jump in the sequence which is difficult to fix.
4) Fill up your memory card
If you're shooting raw images at full size then you'll want to make sure your card has enough space. It's easily done - you're shooting away and you're excited because you've never encountered a sunrise so beautiful. The warmth builds up on your cold skin and you breath in the crisp air and take in the surroundings that are basked in a warm glow. You're tired because you left at midnight to set up but you're happy with the knowledge that this is truly epic. Suddenly, 'CF Card Full' flashes up on your screen and you realise you hadn't changed card and you have none left. Again, depending on your interval, you may or may not have time to change cards as you'll get another 'jump' in the shot.
5) Place your tripod on a loose surface
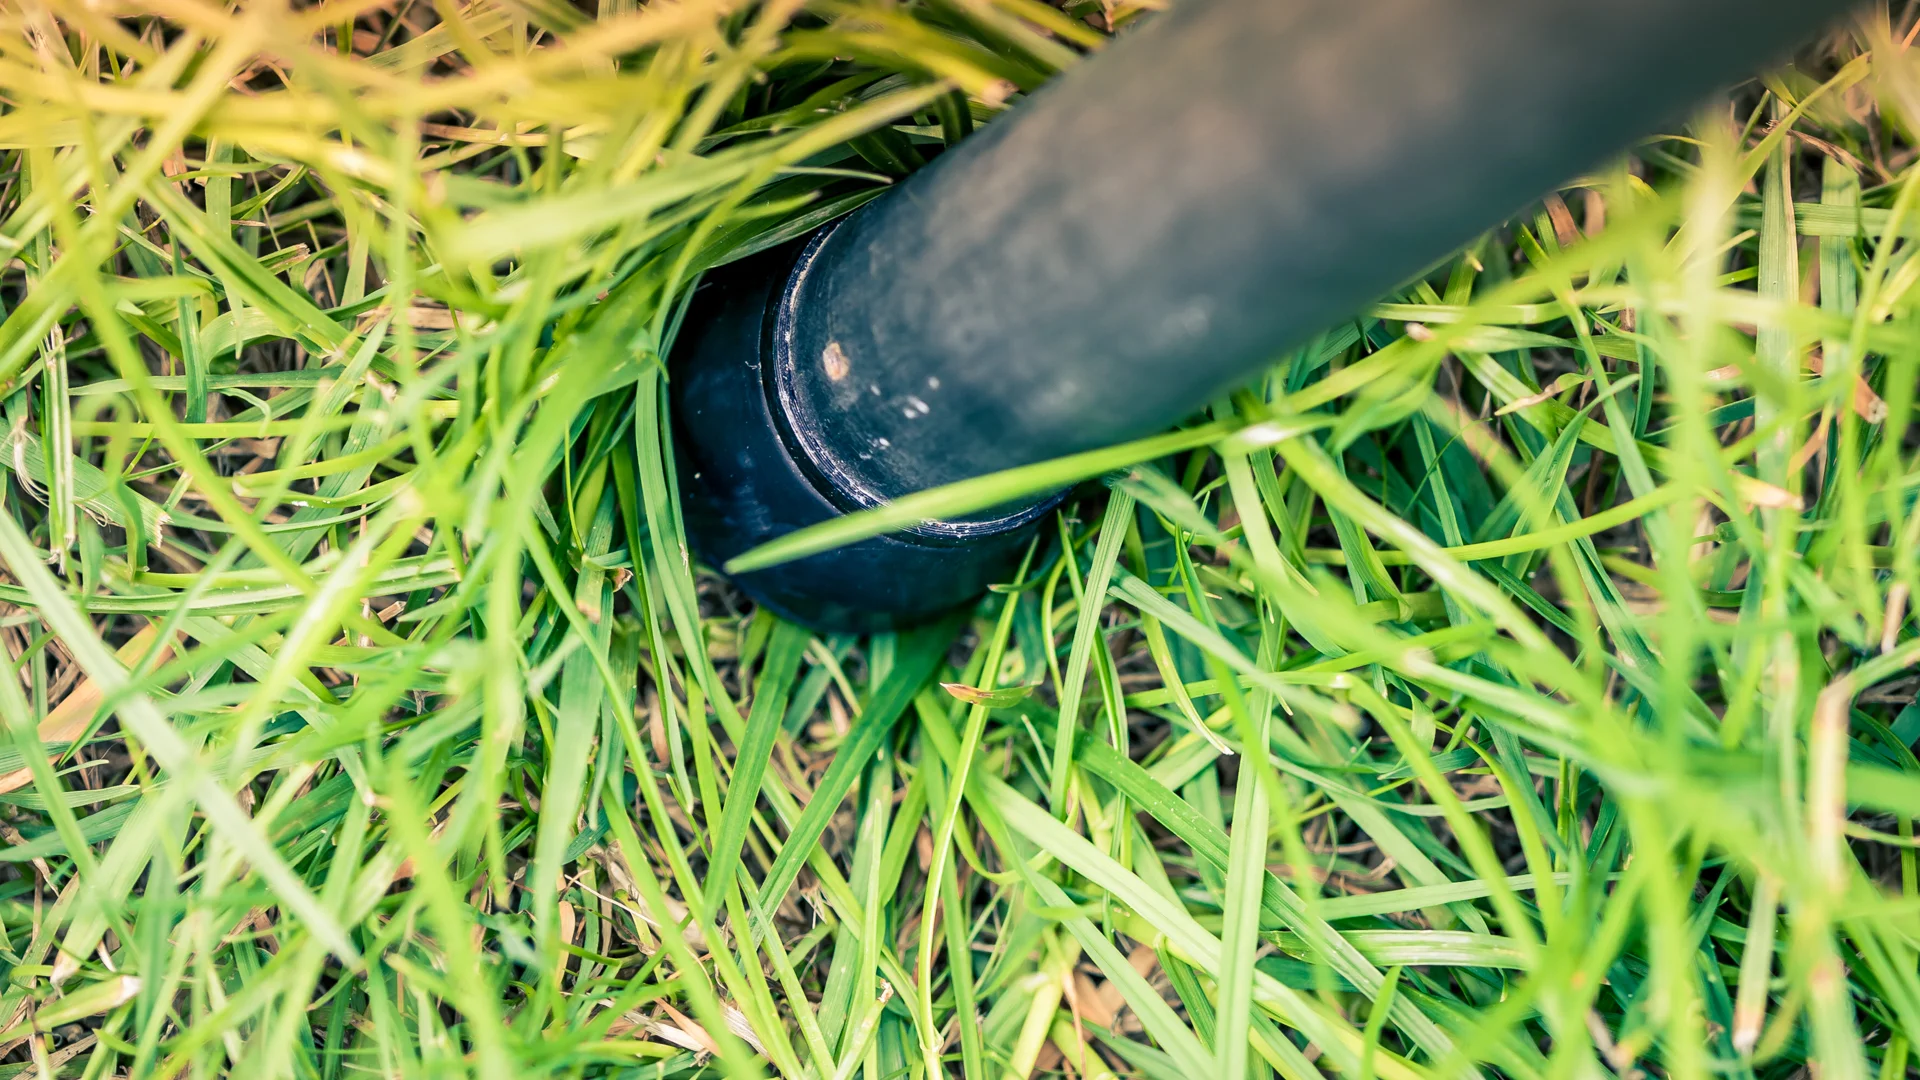
Ah - the great outdoors - amazing to be out in but unlike shooting in the city, the ground is not always solid. Sand, soil, grass - they're all hazards waiting to happen. What may seem like a stable footing for your three legs initially could eventually move over time - only slightly, but it's noticeable. I always carry 3 small plates of wood to place under the legs to spread the weight. This works especially well if you're shooting on a beach.
6) Don't clean your sensor
Your camera's sensor is a magnet for dust, dirt and occasionally oil from the mechanism (SLRs only). The majority of my work is outside and it's unavoidable to be changing a lens and not get anything inside. If you don't keep on top of this, you'll eventually have splodges all over the place. There's plenty of places to send your camera sensor to be cleaned but don't be afraid to do it yourself - it's a lot more cost effective.
7) Set up your intervalometer incorrectly
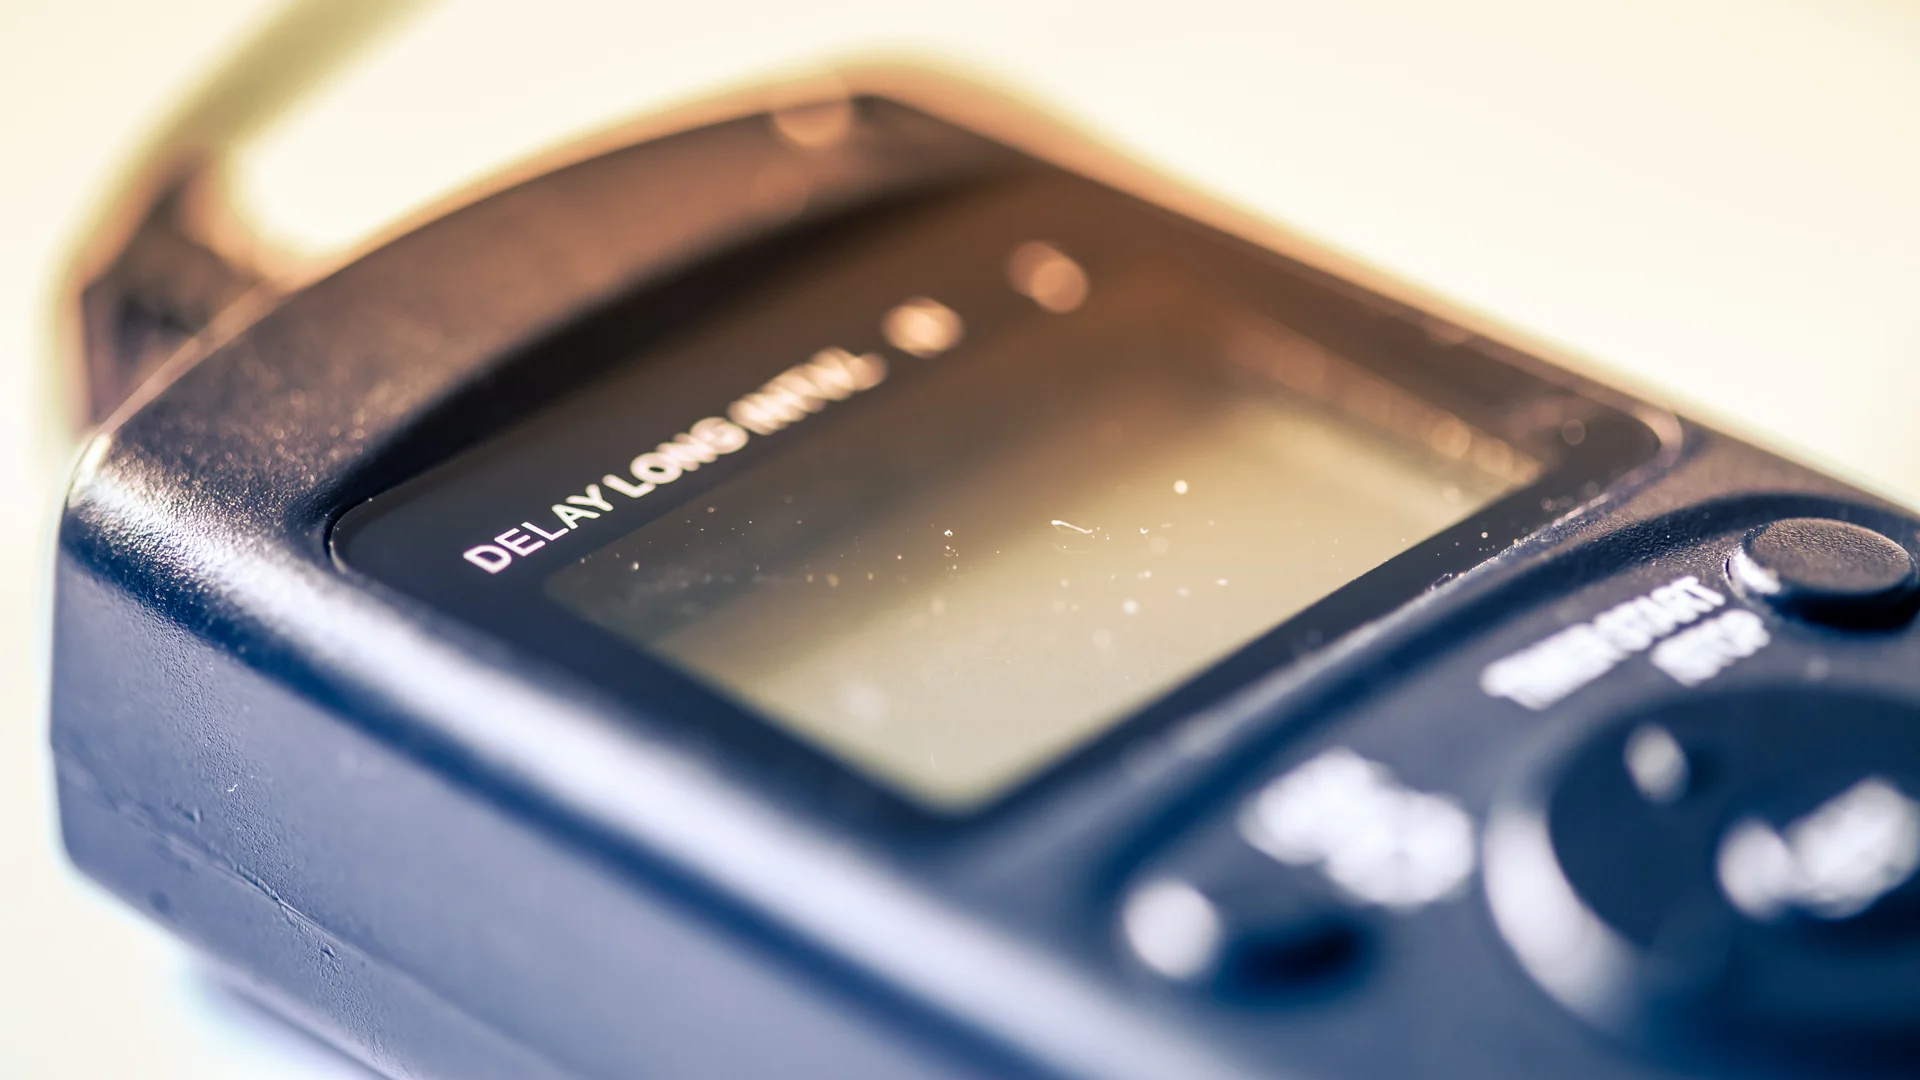
The average intervalometer has the following settings: Delay, Interval, Duration, Number of shots, Sound on or off. It's pretty difficult to get these wrong as you'll either be shooting or not but it has been known. If the number of shots is set to it's maximum (399 on some models) and you're planning a shot of 500 for a 20 second clip (25fps) then you'll need to start it again and if you mistime this, you'll get another jump in your shot. I normally leave mine at infinite shots and calculate when it will finish, set an alarm on my phone then stop it. If I feel there's still a reason to keep shooting, I'll just speed up the clip in post. It's better to shoot more than you need than less as you can always speed up a timelapse, but never slow it down!
8) Format your card / Don't Backup
If you've been shooting all night and haven't slept, you're only a few button pushes away from formatting your card or thinking you've changed cards and formatted the wrong one. Label all of your cards - mine are in a sequence of numbers and I have two separate containers - one for new cards, one for cards I've shot on. One container has luminous green tape on and the other has luminous red tape on and the word 'NO' written all over it. Also, when you backup, make sure you make multiple copies from the card each time as if there's an error with a drive, you're only copying that error. Twice should be enough - it takes time but it's worth it in the long run!
9) Quit your shoot
It's been a long week - you've been driving around all over the place gathering shots and you're ready to go home but wait! There's a sunset breaking through the clouds and you've not captured a decent one yet so you scale a mountain, set up your tripod and press go.
The cloud cover returns, it starts to get cold so you call it a day and head back to your car, sans sunset shot. Ten minutes into your drive home, you look in your rear view mirror and witness the mother of all sunsets is now happening and it's all too late. You wished you'd stayed put and thoughts of driving off a cliff enter your head. I've done this once and never again - as much as you think you can predict what the clouds will do you probably never will, so stick around as you've already made the effort to start a shot. You may even notice a location you've not discovered as well so there's always something to be gained.
10) Having a heavy hand whilst adjusting settings or checking shots
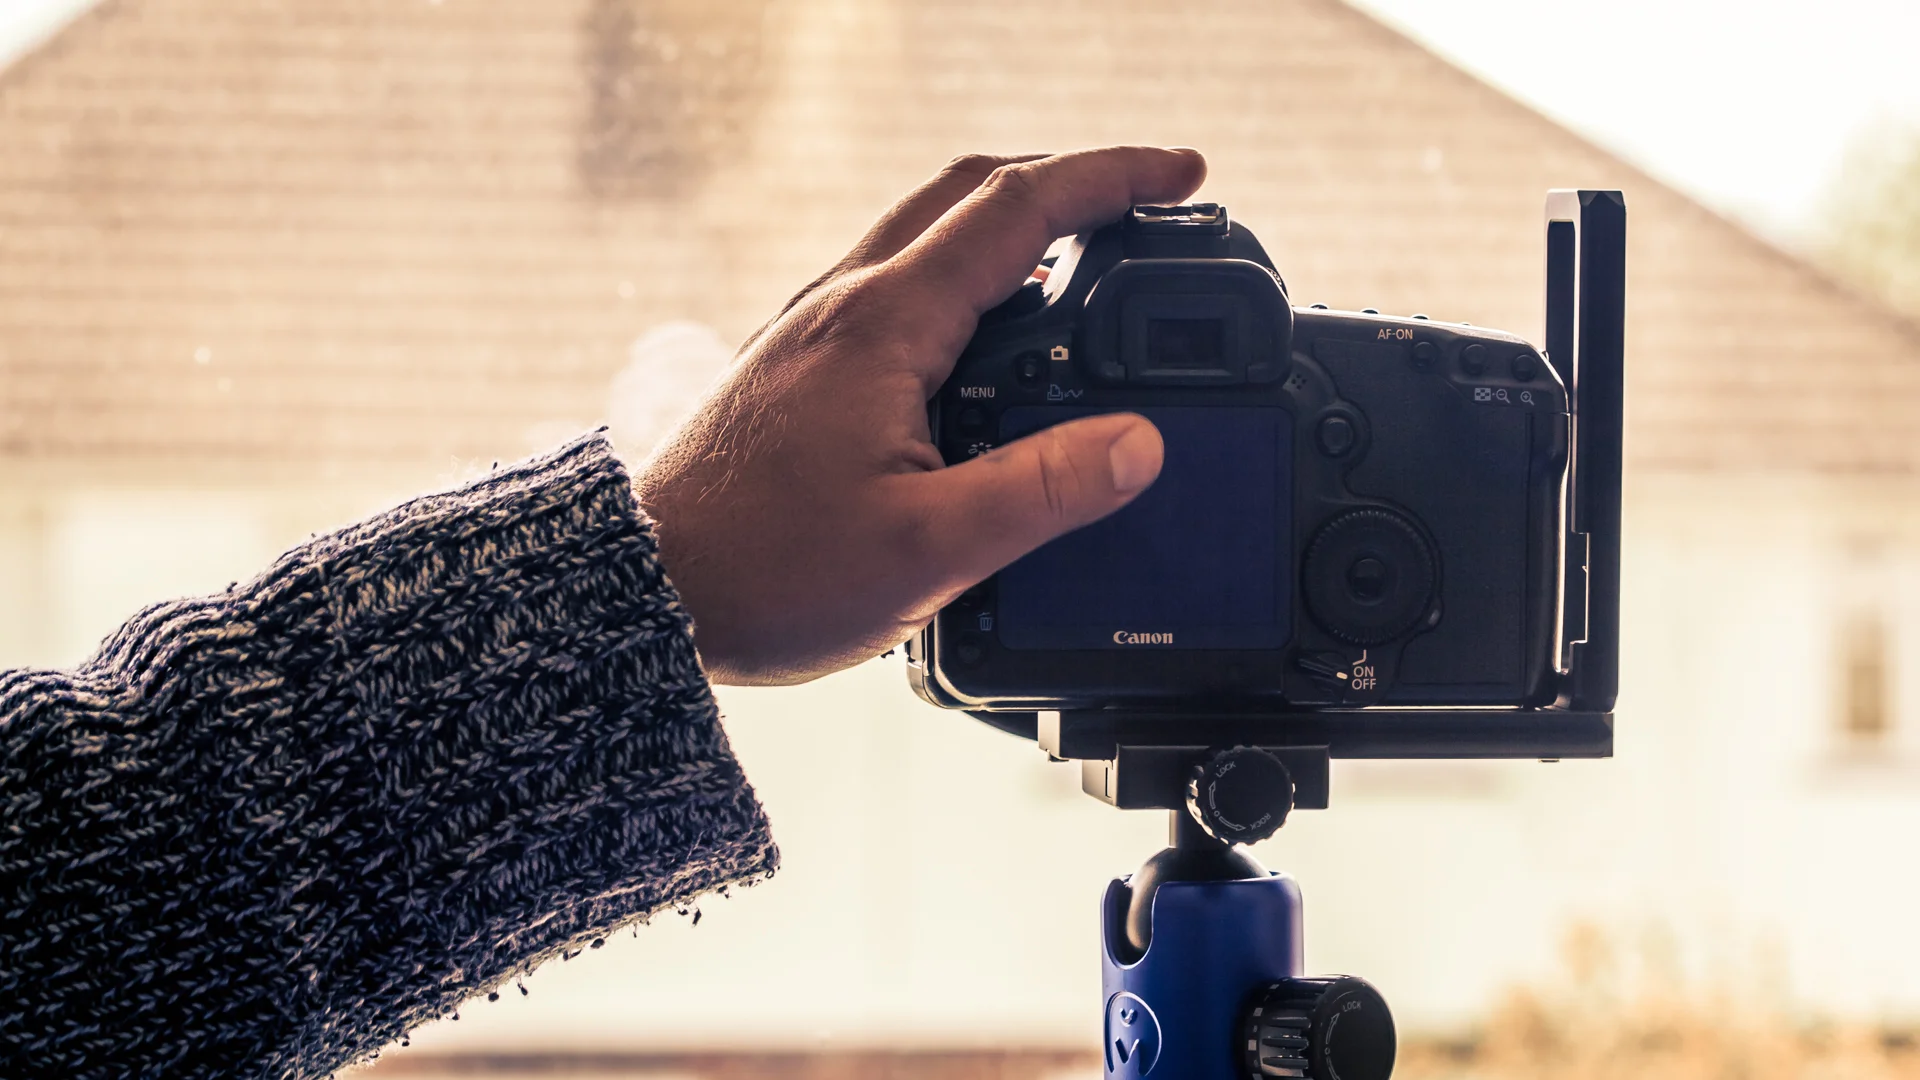
Initially it may seem daunting to touch the camera whilst shooting for fear of moving it and killing your shot. For some techniques, you'll have to check exposure, change exposure or you simply want to look to check progress, battery life etc. This will take practice and eventually, you'll be able to do it in the dark. You need to treat the camera like a bomb disposal team or one of those tiny screws from your glasses or shades that has come out. Know your camera, what each button does and where they are - I used to practice with a blindfold on so I could memorise where each menu item is - obviously whilst not shooting! Even the slightest movement on your camera during a shot will show up when you're watching it back so play nice.
As always, thanks for reading and if you have gained any knowledge from this or feel that you've just wasted part of your life somehow, follow me at one of the SM sites below and air your views:
Got any questions? Leave them below and I'll do my utmost to answer them asap!


